📅 Oct 16, 2022
📅 Oct 16, 2022
📅 Oct 16, 2022
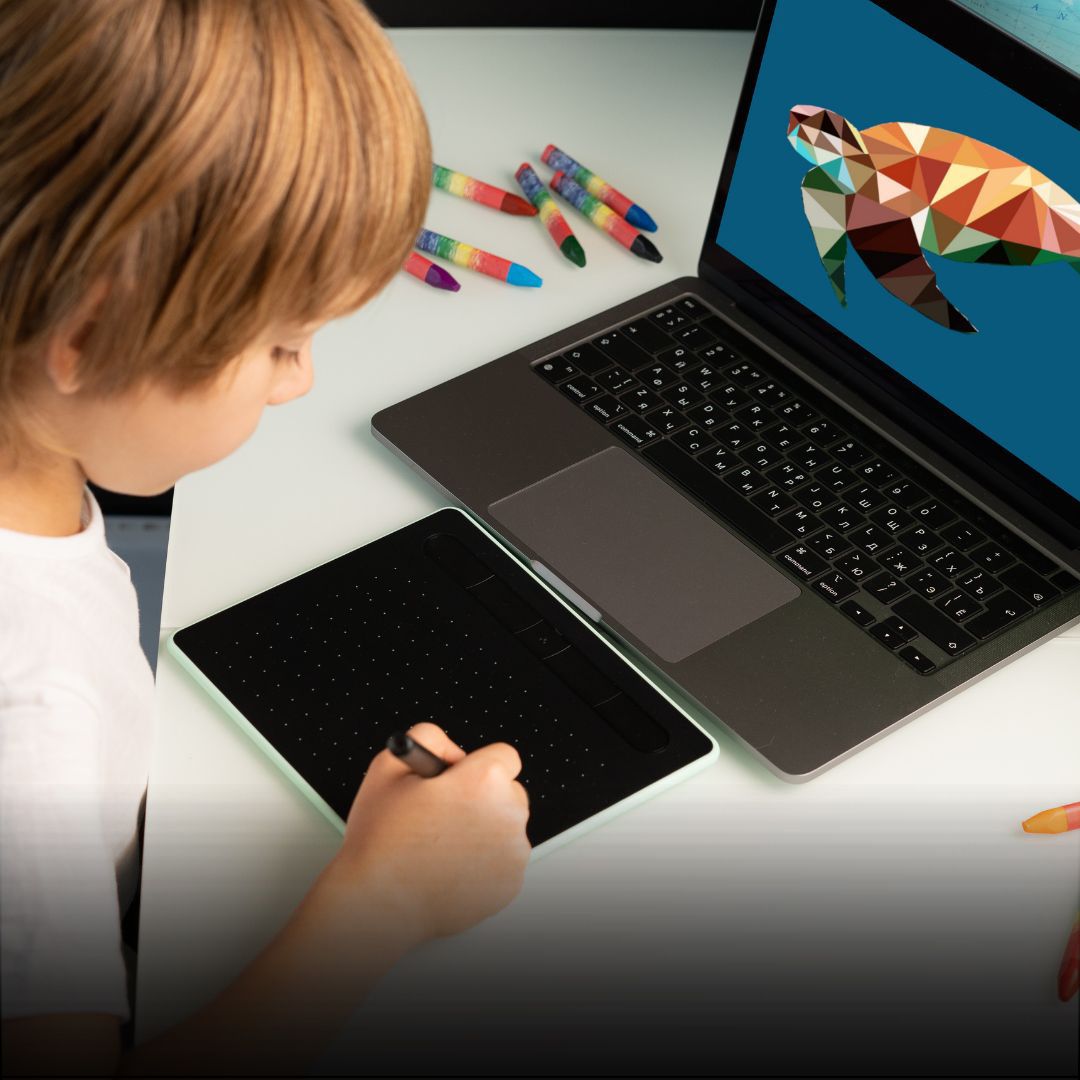
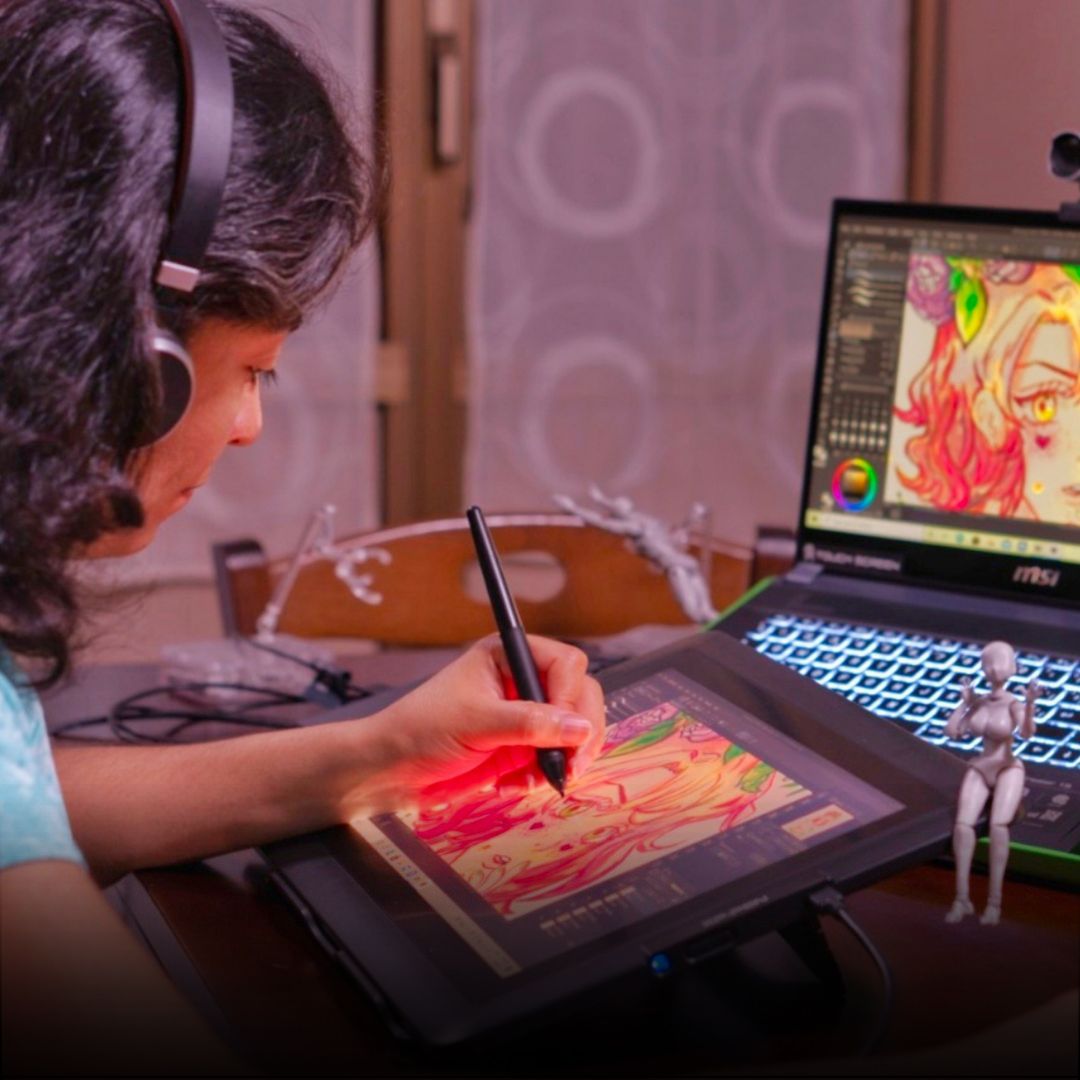
If you are looking to learn how to use Adobe Illustrator for character design, this post is the perfect place to start! Character design can be difficult but you can be creating gorgeous characters in no time with the right tools and techniques. This article will go over all of the essentials that will have you designing quality characters in no time!
The shape tool is great for when you want to draw rough sketches or adding a shadow or outline around an object. Like using pencils, different sizes can be used to create different line styles. Additionally, holding down Shift while drawing will let you create evenly spaced shapes that are perfectly aligned. These things can be found in your Pencil panel when you hover over each shape. Your options will include width, length, roundness, angle and end caps if a stroke is selected. Only width, length, and roundness will be available if no stroke is selected on a path.
The Convert Anchor Point Tool is extremely useful but not used by all designers. Your anchor points will have sharp corners (rather than curved) by default. You can simply set a keyboard shortcut to make it easy to convert between sharp and curve. Suppose you don't already have one of these shortcuts. In that case, you can quickly add one in Preferences: General>Keyboard Shortcuts>Anchor Point Tool (Mac) or Edit>Preferences>Shortcuts>Anchor Point Tool (Windows). Select make corner point from the selected anchor point as your shortcut; then head back to Illustrator and press Cmd/Ctrl+Shift+C to use it.
One of Illustrator's most basic tools but not less important. The Selection Tool functions as a cursor on your computer screen, enabling you to drag it around, click to select objects and create new selections by clicking and dragging to create a selection box. When you hold down Alt (PC) or Option (Mac), you'll also get an additional set of options: Add to Selection and Subtract from Selection. These help make quick work of selections—say you want to quickly select all your character pieces at once. Hold down Alt/Option + Click anywhere inside that area and those pieces will be added (or subtracted from) your current selection.
The Pen Tool draws curves, straight lines, anchor points and Bézier handles control points or other paths. Its primary use is to create shapes or objects without using a standard fill or stroke. While it may seem intimidating at the first glance, using it can be fun after getting the hang of it. Many artists enjoy using it because of how much creative freedom it provides them.
The Layers Panel allows you to create layers, lock them, select them, move them around your artboard, change their opacity, etc. It also has a handy eye icon that will hide all layers except those visible. This feature is great when trying to blend colors or want a particular object to stand out on its layer. Once you start working with many layers, it can become very difficult to keep track of what's what. To avoid confusion at any time press Ctrl + - (Command + - on Mac). This will minimize your layers into a stack at the bottom of your artboard!
This is one of those tools you may not realize you need until you use it. Rulers make it easy to draw straight lines or grids, which are great for creating borders around characters (think of cards or Pokemon battles). They're also handy when drawing standardized icons, text boxes, frames, or other designs that will be used repeatedly. You can set your ruler as a default, so you don't have to select it each time.
As you start to design a character using Illustrator, it is always best to use the Illustrator align tool. This tool helps control how your objects are placed on a page and will save you time if you do not have to manually reposition elements. With alignment tools, all objects are snapped into place. Snapping works by pressing ctrl + F8, which will bring up your grid/snapping window. To move an object with snapping activated, click on an empty area of your artboard with no objects or types selected (the only one selected is where you plan to place an object), then click & drag your desired object into position within the grid.
The Appearance panel is probably one of Illustrator's most overlooked features. It is used to edit colors, opacity, strokes, effects—basically, anything that has to do with your artwork. The last section of the Appearance panel shows a thumbnail version of your entire artwork. You can drag objects into it to assign them their color or weight, so you don't have to do it multiple times. There are also buttons at either end of each stroke; use these to select an object without selecting its stroke—useful when you want to change something about a character but don't want to re-select everything else around it.
If you're looking to create a professional-looking design, such as a character, you must have proper training. There are many options—from free YouTube tutorials to paid design classes—but remember that all these resources don't do you any good if you can't apply them correctly. Learn your software inside out by practicing daily and take advantage of video tutorials or one-on-one learning opportunities.